How to create and manage geofences
In this guide, we will show you how to create and manage geofences. You can use geofences as the basic building block to generate alerts based on events.
Creating geofences
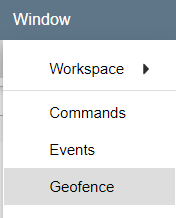
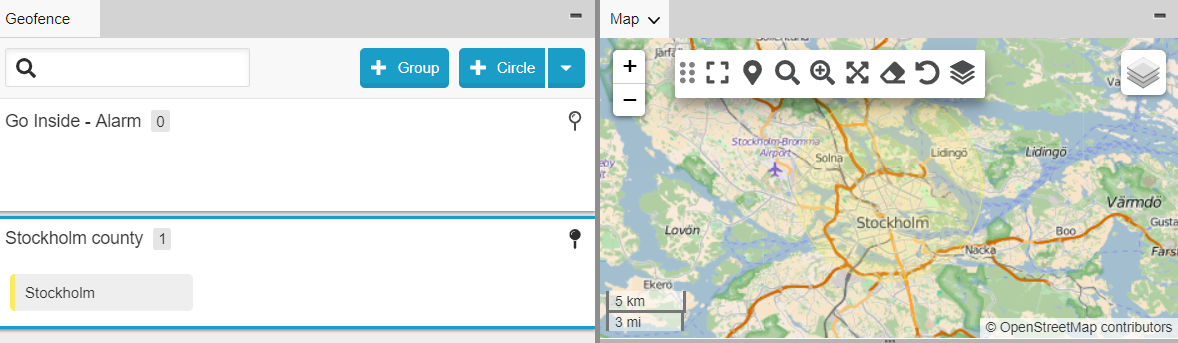
In your application, go to the Geofence panel. If you don’t see the Geofence panel, go to Workspace and select the [default] view.
You can learn more about workspaces here.
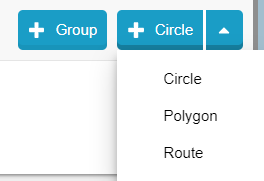
Geofences can be circles, polygons, or routes. To add a new geofence, click on + Circle button or select a type of geofence with the option ![]() and define a New Polygon or even route geofences selecting New Route.
and define a New Polygon or even route geofences selecting New Route.
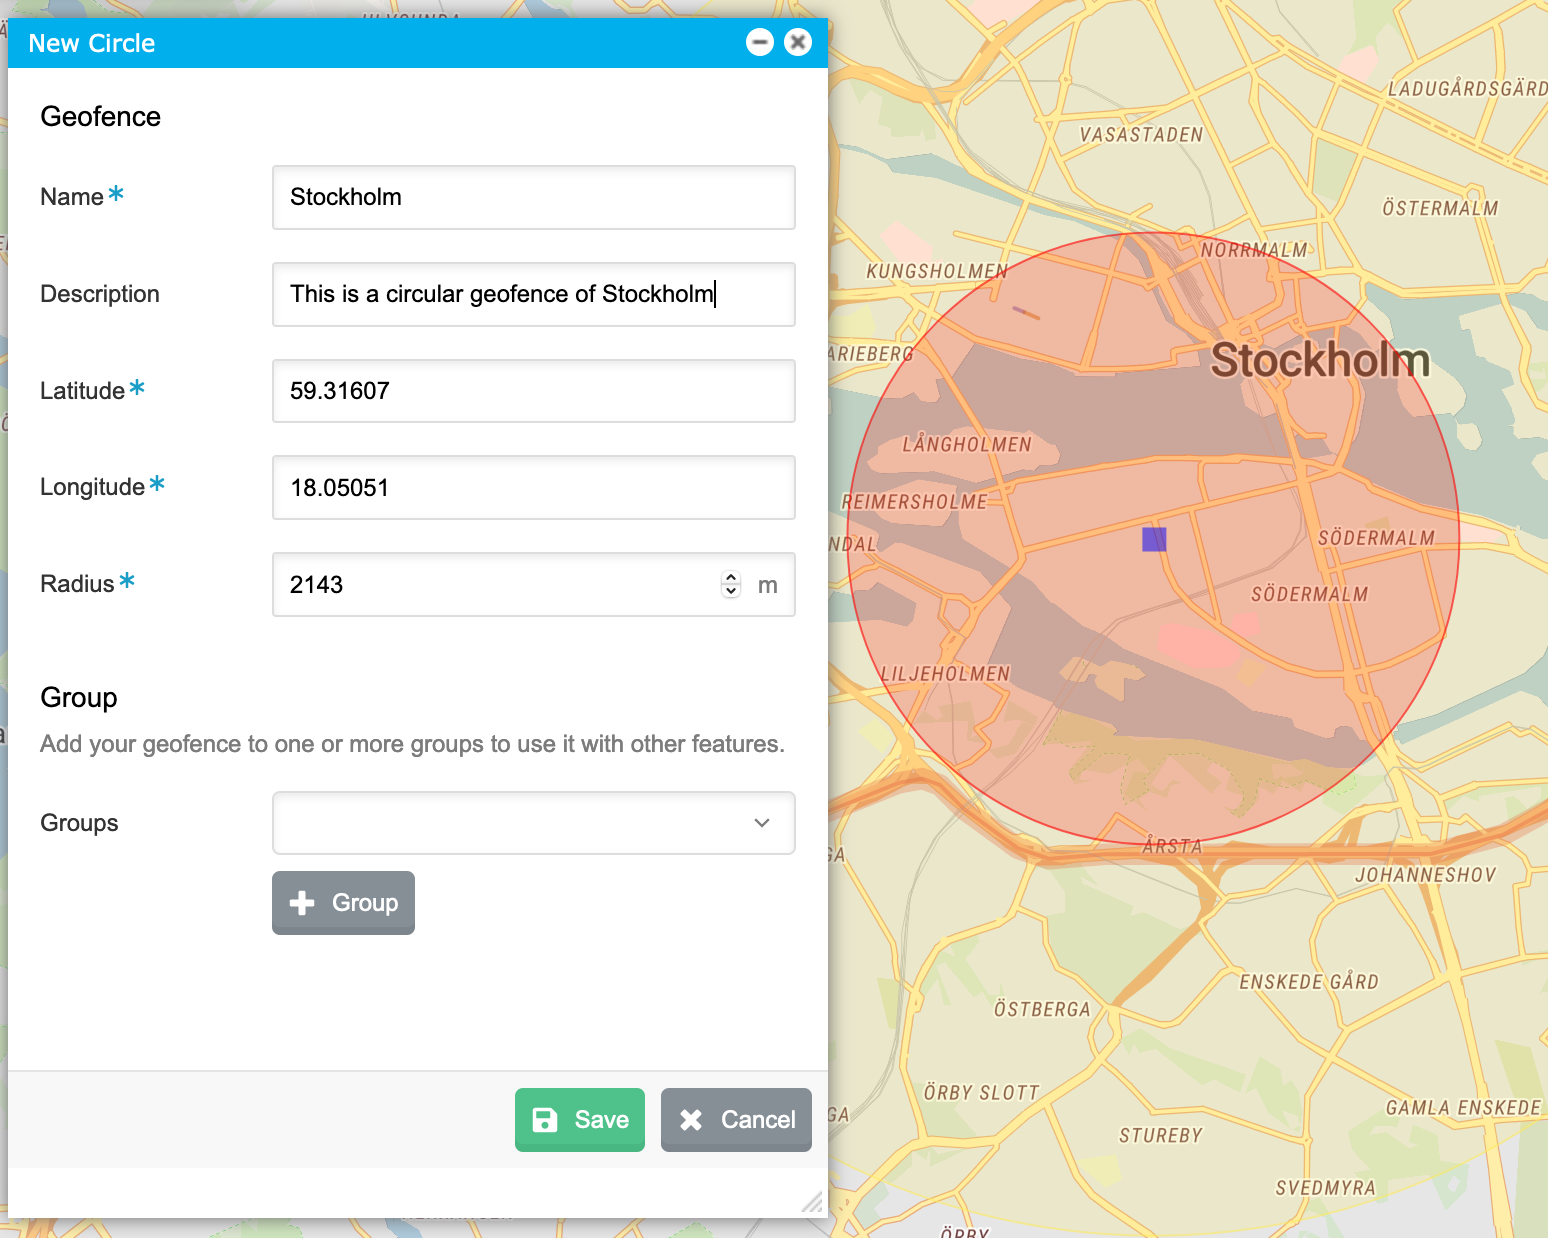
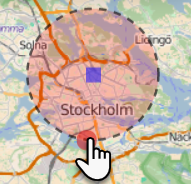
You can draw the geofence directly on the map to the left of the screen and at the same time, define a Name and a Description (optional) for our new geofence. Route geofences snap to roads and make planning accurate and easy - learn more here.
Add the new geofence into a group by clicking on + Group.
Type a Group name and select Pin to Map if you want to see all geofences of that group on the screen at all times.
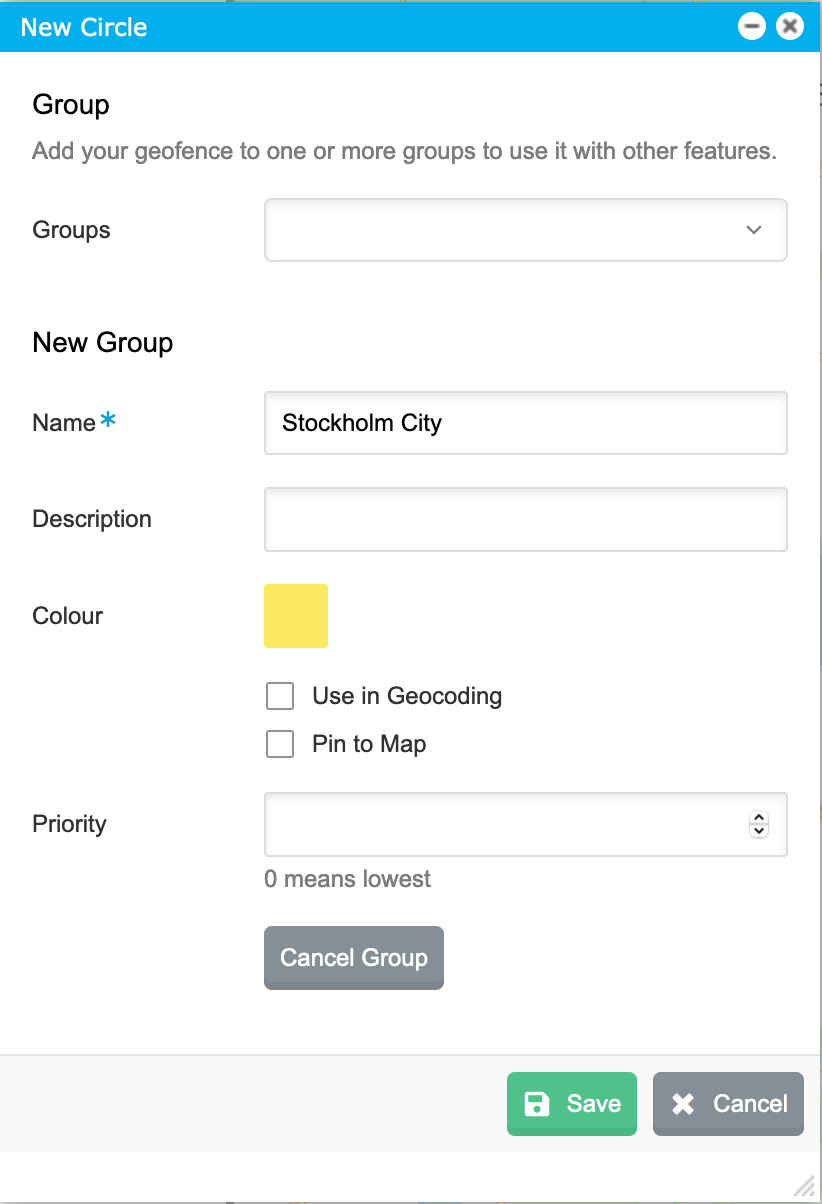
Click on Save when you're done.
Now your new geofence and group are created.
Edit a geofence
To make modifications on a geofence, right-click on the geofence name in the Geofence panel.
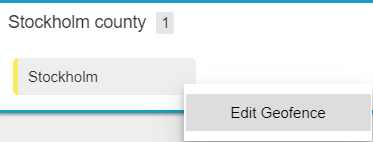
Now you can edit the geofence properties or even change them on the map.
Save the changes when done.
Edit a geofence group
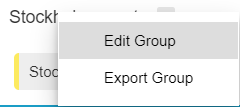
To make modifications to a geofence group, right-click on the group name in the Geofence panel.
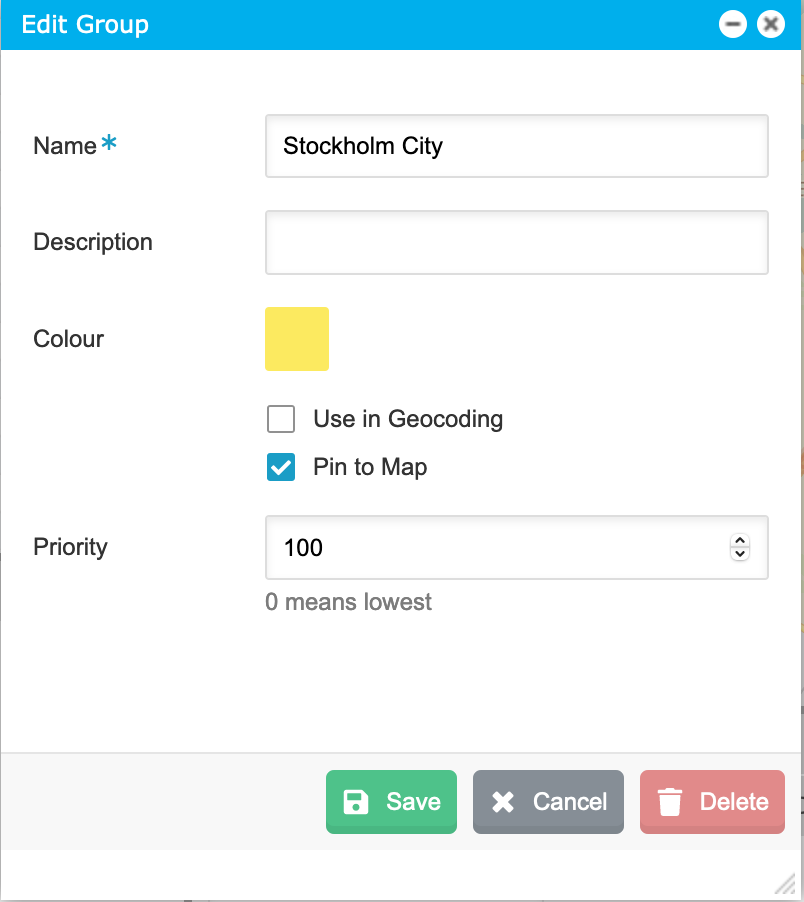
- Use in Geocoding: this option enables using the geofence group as a geocoder of the application.
Read more about how to change the geocoder in an application. - Pin to Map: this option keeps the group of geofences visible on the map at all times.
- Priority: The geofence can belong to more than one geofence group. It will use the color of the highest priority geofence group it belongs to. For example, if Geofence A belongs to Geofence Group1 (with Priority: 100 and Color: Green) and Geofence Group2 (with Priority: 200 and Color: Red). Geofence A will display in red on the map. *
*Note: if geofence groups have the same priority assigned, the creation date/time of the groups is followed.
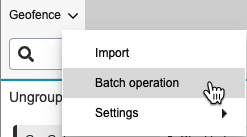
Batch edit geofences
If you need to edit geofences in batch mode (e.g. to delete multiple geofences) use the advanced option under the Geofences panel.
You will be presented below with the following options:
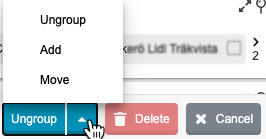
- Ungroup: it will move all selected geofences to the Ungrouped Geofences group.
- Add: it will add the selected geofences to the selected group.
- Move: it will move the selected geofences to the selected group.
- Delete: it will delete the selected geofences.
Was this article helpful?
That’s Great!
Thank you for your feedback
Sorry! We couldn't be helpful
Thank you for your feedback
Feedback sent
We appreciate your effort and will try to fix the article